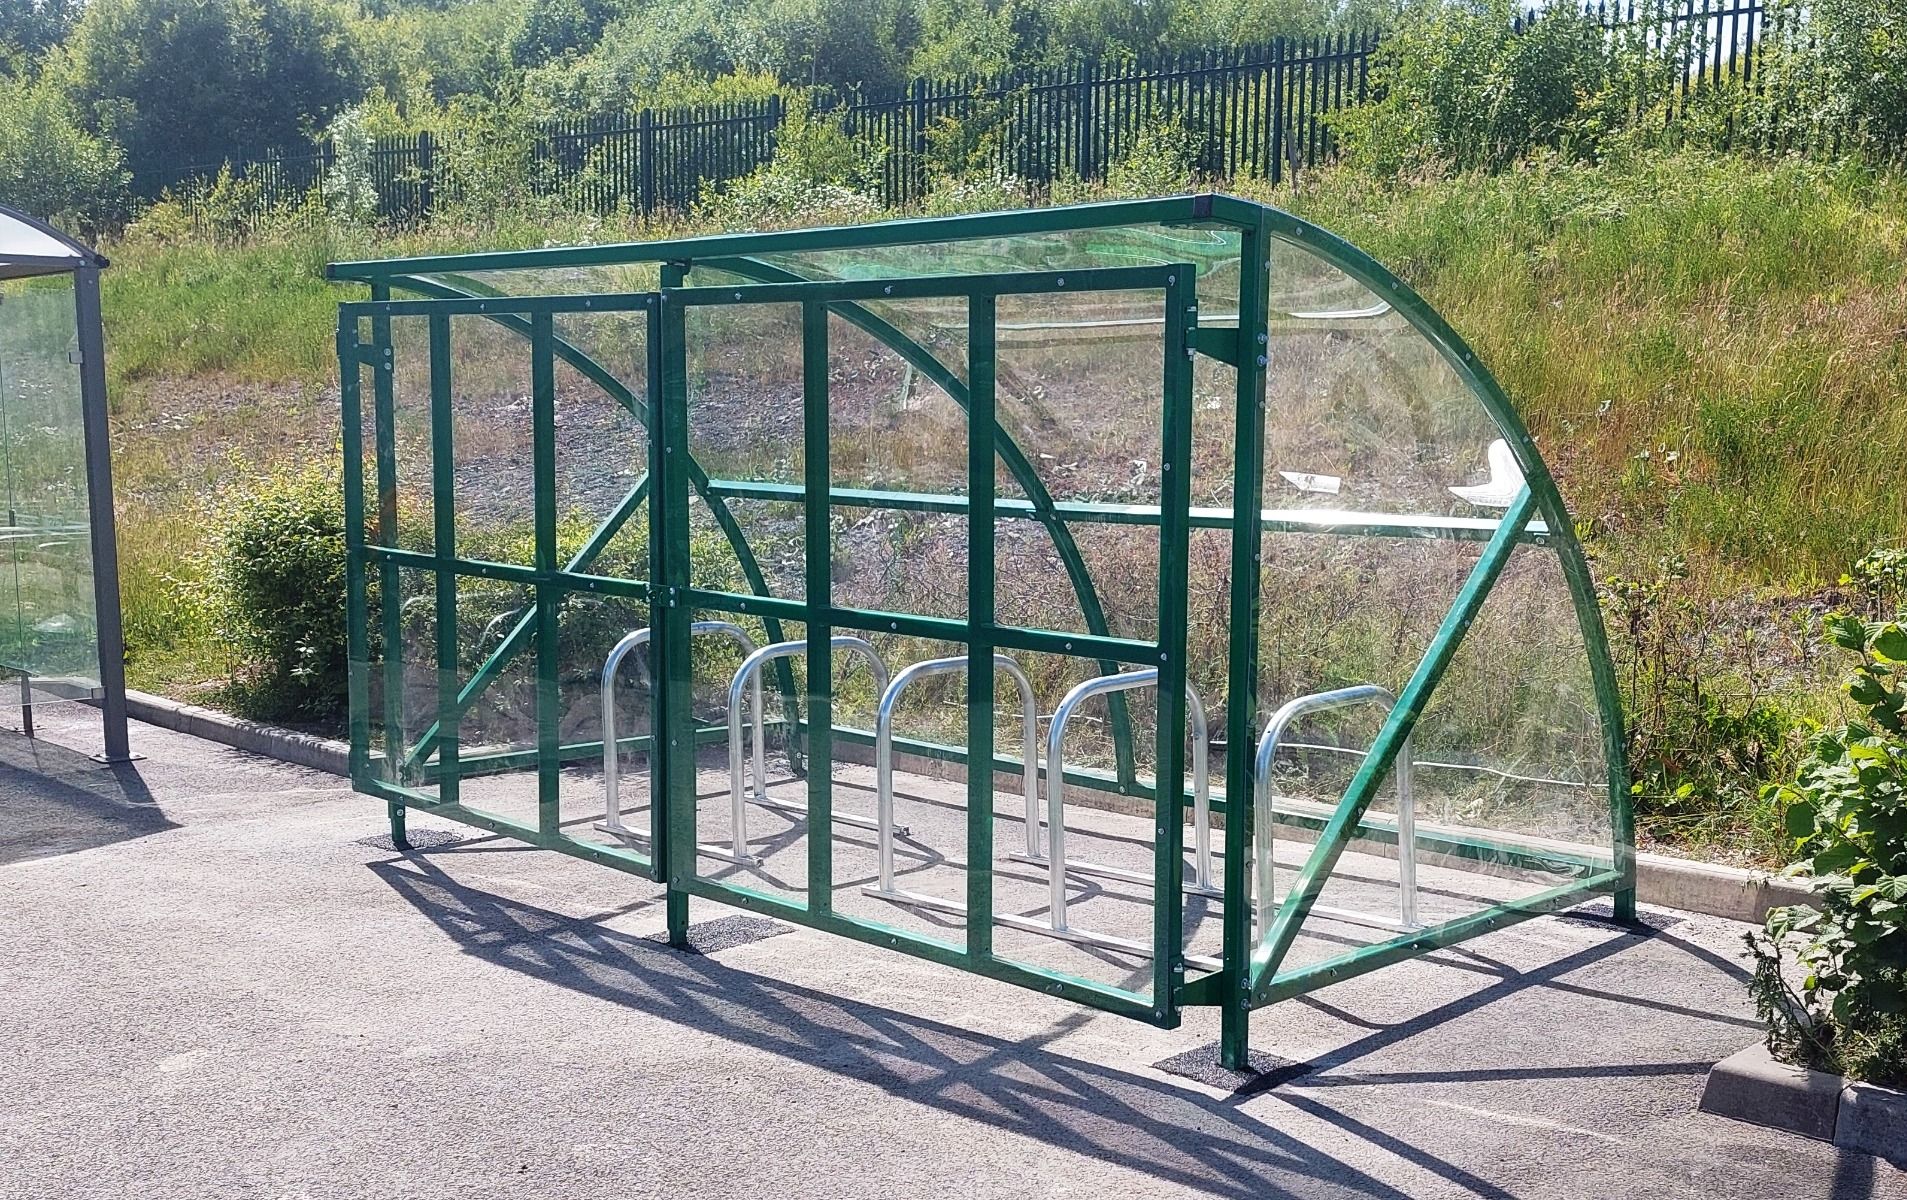
How to install your shopping trolley shelter from Store Fittings Direct.
Our Dalby Shopping trolley shelter itself is an elegant shape, made from aluminium with lots of gentle curves and glazed with 6mm clear polycarbonate. In order to fit the space available it was designed for entry from one side. The back consists of 3mm aluminium sheets powder coated in two shades of grey, curved from top to bottom, preventing any view into the shelter from the adjacent car park, whilst a gap at the top enables air circulation. The roof is clear 6mm solid polycarbonate that was cold-curved during fitting, as is the vertical panel on the side opposite to the entrance. The glazing was fitted using our P226 screw-down glazing bar and in line with current legislation 50% of the shelter sides are open to the elements.

GROUND WORKS
- All concrete pads should be laid and given sufficient time to harden before shelters are installed.
- Tarmac should be laid new, or made good to a maximum depth of 50mm over the concrete pads before shelters are installed.
- Tarmac should be clearly marked to identify the position of the external perimeter of each concrete pad.
- Approximately 3-4 shelters can be erected per day, therefore sufficient pads should be laid prior to shelter installation to allow for consecutive working days for the total quantity of shelters to be fitted.
ALLOCATING & PREPARING THE WORK / STORAGE AREA
- STORAGE PRIOR TO ASSEMBLY A suitable secure storage area (compound) will be required prior to delivery to site. This needs to be large enough to accommodate the total number of shelters required.
- REVIEW GROUND WORKS Check that ground works have been carried out and made good as per previous ground work section.
- LOCATION OF ASSEMBLY Main assembly of the shelters must be undertaken within an area of 6 car parking spaces around the parking bay that is to be the final fixed position of the shelter as described in the “Working Area” paragraph below to avoid unnecessary manual handling issues.
- WORKING AREA A clear working area must be provided incorporating a total of 6 car parking spaces, 1 space either side of the parking space the shelter is to finally fixed to and three spaces directly behind. This area should be made safe for working by erecting Herras fencing around the perimeter as per AWOW V5.
ASSEMBLY INSTRUCTIONS
- CHECK PARTS Check all parts have been supplied correctly.
- ASSEMBLE BRACKETS

Assemble end and middle brackets as shown above.
3. Use M8 x 16 Hex Head Bolts, M8 Nyloc Nuts and M8 Washers.
• Quantity required for each shelter is: o 4 x Middle Bracket o 8 x End Bracket 3. ASSEMBLE SHELTER SKELETON  •
•
- Assemble lower steel railings. Do not fix railings to concrete until step 5.
- Slide assembled brackets and loose bolts into loop channel in the following quantities.
- Front loop requires 4 end brackets for horizontal beams (see detail A), 2 M8 x 16 bolts for side stiffening bars and 1 M8 x 40 bolt in the middle for the trolley park sign and top stiffening bar.
- Middle loop requires 4 middle brackets for horizontal beams (see detail C), 3 M8 x 16 bolts for internal support beams.
- Back loop requires 4 end brackets for horizontal beams (see detail A), 3 M8 x 16 bolts for internal support beams.
- Loosely assemble loops to railings using M8 x 25 bolts, M8 washers and M8 nylocnuts (see detail B above).
- Locate and fix side and top internal support beams to tie loops together using the loose M8 x 16 bolts, M8 washers and M8 nylocnuts.Secure middle internal support beam at top centre of loops. Fix the 2 other internal support beams either side at equal height.
- Locate and tighten horizontal beams on to brackets on one side at a height of 755mm from the bottom of the loops to the centre of the beam / brackets.(see detail A/C above).

4. FIX FIRST CLEAR GLAZING PANELS 
- Bend 2 glazing panels into loop channels on opposite side of the trolley park to the 755mm high fixed horizontal beam.
- Slide glazing around loop in channels and locate onto 775mm high horizontal beams.
- Locate 2 horizontal beams above glazed panels and secure to brackets as per stage
FITTING THE GLAZING
- Repeat stage 2 for all glazing panels, finishing with locating final 2 horizontal beams at 755mm high to ensure the trolley park is even.
- Tighten all M8 fixings except M8 x 40 front top centre fixing.
- Rivet 4x side support bars through side glazing panels to internal support beams as shown, 12 places in total. Again ensure trolley park bars are even on both sides.


SIGNAGE
6. FIX SIGN 
- Slide sign into top centre stiffening bar and using the M8 x 40 bolt mentioned in stages 2 and secure with M8 washer and nyloc nut.

FINAL FIXINGS
7.FIX TO CONCRETE 
- Move and locate trolley parks to centre of concrete pads. Concrete pads should have been pre-installed by others to suit the attached layout. Chemfixtrolley park in position with two chemfixfixings per leg. (See detail C above).
- If hitch rail is included in installation, locate hitch rail in appropriate position and fix using 200mm long chemfixstud (see detail D above).
- Fix hitch rail to horizontal beams as shown using U-brackets and offset spacers as required (shown above).
- Clean all debris from drilling from work area.


Anti Roll Back Strip ( If Required )
Positioning One anti–roll back strip should be fitted at the front of the shelter with the leading edge level with the outside of the front hoop and an equal gap left to the left and right side.
FASTENER LIST
Fixing Kit
- 69 No M8 x 16 Hex Head Z/P
- 16 No M8 x 25 Hex Head Z/P
- 1 No M8 x 40 Hex Head Z/P
- 85 No M8 Nyloc Nuts Z/P
- 85 No M8 Large Washer
12 No FIX-90036 4 X 16 LARGE HEAD POP RIVET
Chem fix Kit:
- 1 -Tube Chemfix380ML (C/W 2 Nozzles)
- 16 -M10 X 200 Resin Anchor Stud / Nut / Washer
- 16 -1.1/2 X 3/8 Mudguard Washer ZP
Anti Roll Back Strip
- 4 -M6 x 60mm coach screw
- 4 -M6 rawlplugs •4 -M6 washers
TOOL REQUIREMENTS
- 13mm A/F spanner.
- Soft mallet.
Socket Set
Impact Driver
- 110v SDS Drill & 12mm drill bits
- Large Chemical Resin Gun
- Rivet Gun
- 110v Generator


